

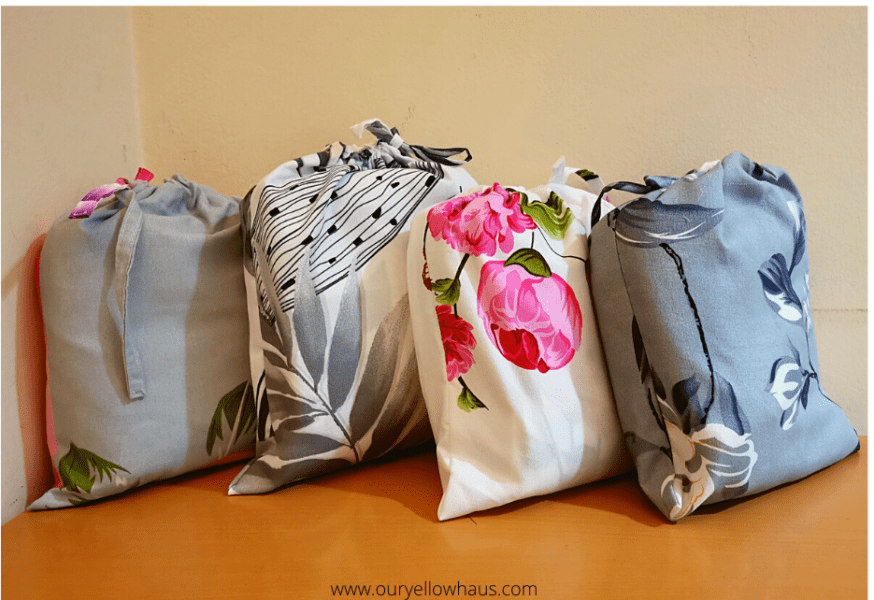
I love how versatile string bags are. We frequently use them whenever we go outside. When we are out walking with kids, this is very handy to put in small toys, a phone, an extra nappy, cards, and maybe some snack items.
The tutorial is suitable for any size that you wish. This project is for a beginner and takes 15-30 minutes to make.
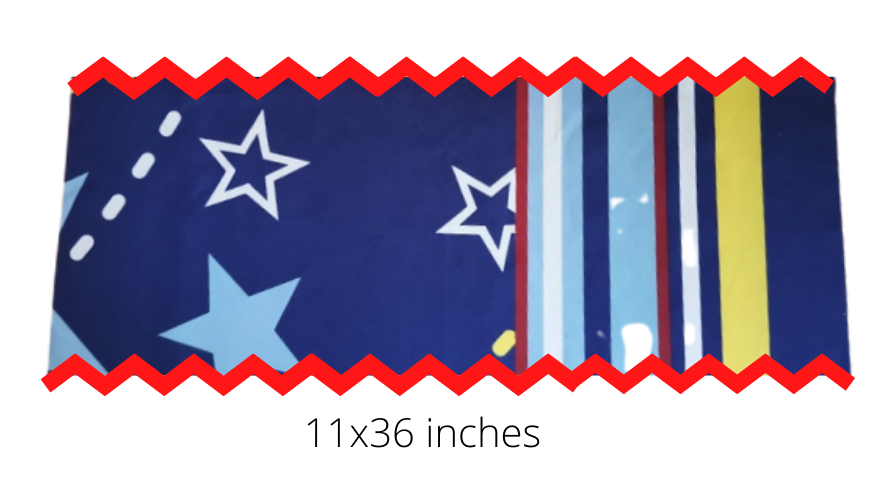
I am making a bag for the bedding set that I have made, so the example has a measurement of 11x26inches.
You will need:
1 pc of rectangular fabric
Ribbon with a safety pin attached that will go around the opening. A safe length would be 3 times the width of your fabric.
Instructions:
Secure the raw edge
Secure the edges of the fabric from unraveling by a pinking shear or a zigzag stitch.
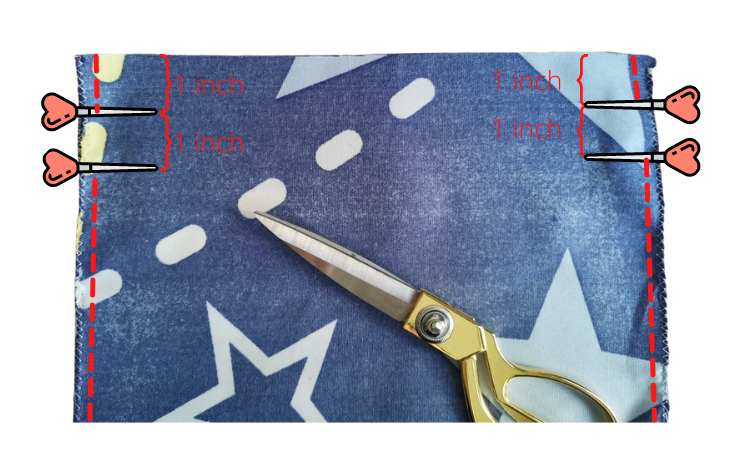
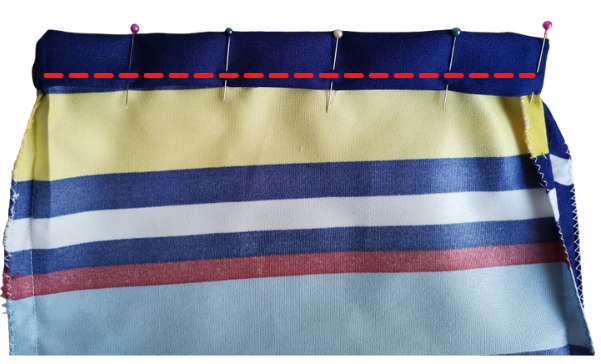
First fold the fabric right sides, matching the short ends together, and measure as shown. Mark measurements with pins.
Sew both sides leaving a gap between the pins. Do not forget to lock the beginning and end of your stitch!
Make a channel for the ribbon
Next, press the seams open for easy insertion of the ribbon.
Fold the top edge making sure the gap is aligned.
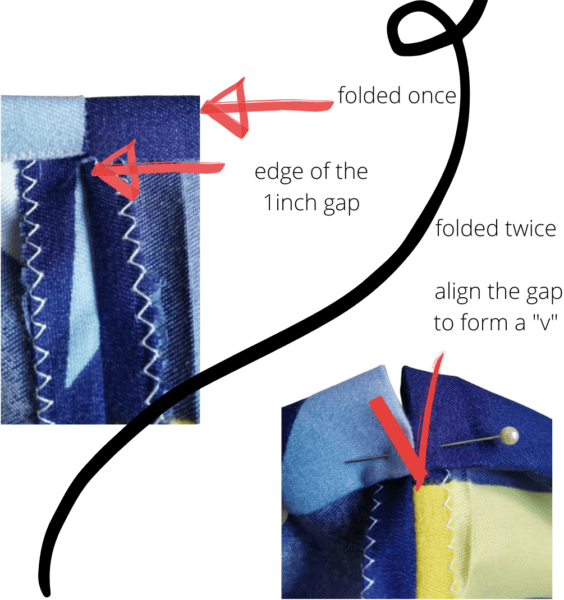
And then, pin and stitch around the opening.
Finally, with a safety pin attached to one end, insert the ribbon into the channel and secure it by tying the ends. Do the same to the other side.
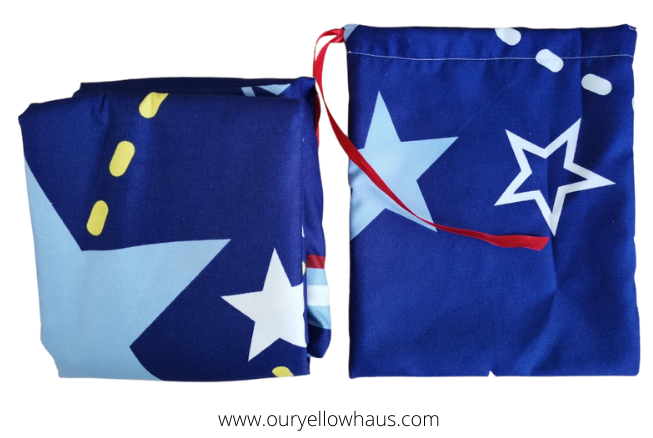
Unfortunately, I ran out of ribbon. As a result, I used only 1 strip of ribbon in this project. Instead of a ribbon, you could also make 1 long strip of folded fabric as shown in the first image of this post.
To make a strip, cut a matching fabric 2 inches wide and long enough to go around the opening with a few inches extra. Fold to the center and fold again to make a long strip that is about 0.5 inches wide. Sew along the edge.
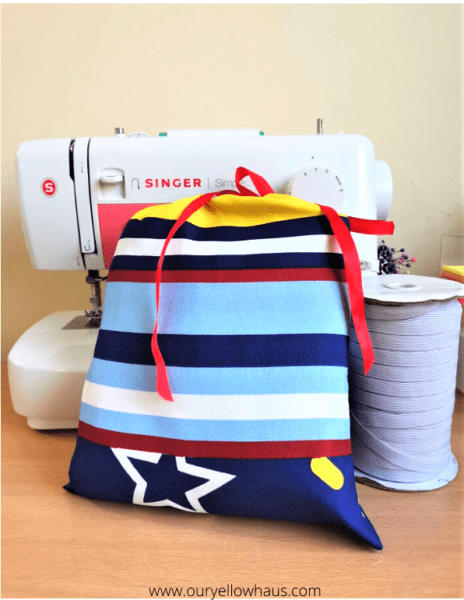
I hope you enjoyed making your simple string bag! Tag me @ouryellowhaus on your social media accounts or comment below and show me your project.