
Hello sewing friends! Welcome to our first sewing tutorial for 2022. It is time to recycle fabrics and make some potholders.
I found a pocket of time to do some cleaning around the house this weekend and I discovered a drawer full of old forgotten towels so I decided to repurpose them into potholders.
This DIY potholder sewing tutorial is great for using up scrap fabrics. You can make it in all shapes and sizes and it only takes less than 30 minutes if you are new at sewing.
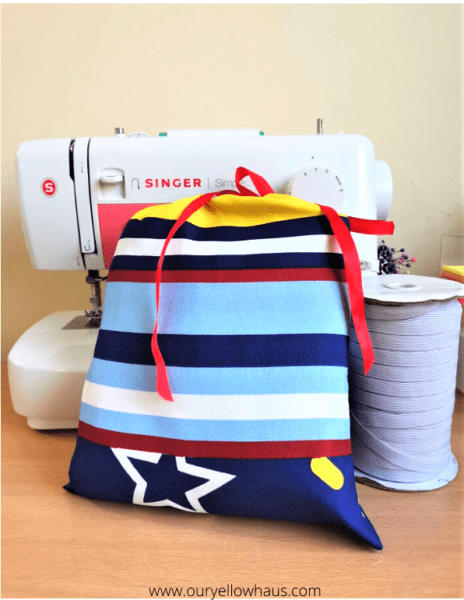
If you want to repurpose a towel, try this DIY Hair Towel Wrap.
What do you put inside a potholder?
Potholders need batting or interfacing to make them heat resistant. If you do not have a batting you can use old towels or any fabric with thickness. Keep in mind though, the amount of heat that your alternate insulator can stand.
You may need to prewash and iron your fabric as some fabrics shrink when washed. I know prewashing a fabric sounds like a lot of work but pre-washing will save you from frustrations later.
Why do prewashing of fabric?
Prewashing prevents your final output to shrink to a smaller size and twisting at the seams. Prewashing eliminates the dirt and chemicals used in the production process. It will also tell you if your fabric would bleed into other fabrics — and that is mighty important.
How to prewash your fabric before sewing?
First, prevent and reduce fraying by doing one of the following:
- Use a zigzag stitch (or a serger) to seal the fabric edges.
- Use a pinking shear
- Pre fray your fabric by pulling out a centimeter of the weft thread
Second, wash and dry the fabric like how you will normally wash and dry this potholder when it is finished.
Potholder loops
This is a tutorial for a potholder with a loop. If you have a ribbon (cotton twill tape), that would work great as a loop too.
You may skip the loop if you want. But I like to hang my potholders where they are accessible for use. Besides, why would you hide something beautiful?
Materials and tools needed to make your DIY potholder:
- 10″ fabric scraps – feel free to explore different sizes and shapes. Insulation material of your choice- Insul-bright or any heat-resistant batting is the best option. You could use a layer or two of any heavy-duty fabric or denim
- Coordinating thread
- Others: sewing machine, pins, scissors
- Optional: rotary cutter, cutting mat
DIY POTHOLDER TUTORIAL:
This tutorial is good for one piece potholder with 1 layer of insulation material.
Cut and measure your fabric:
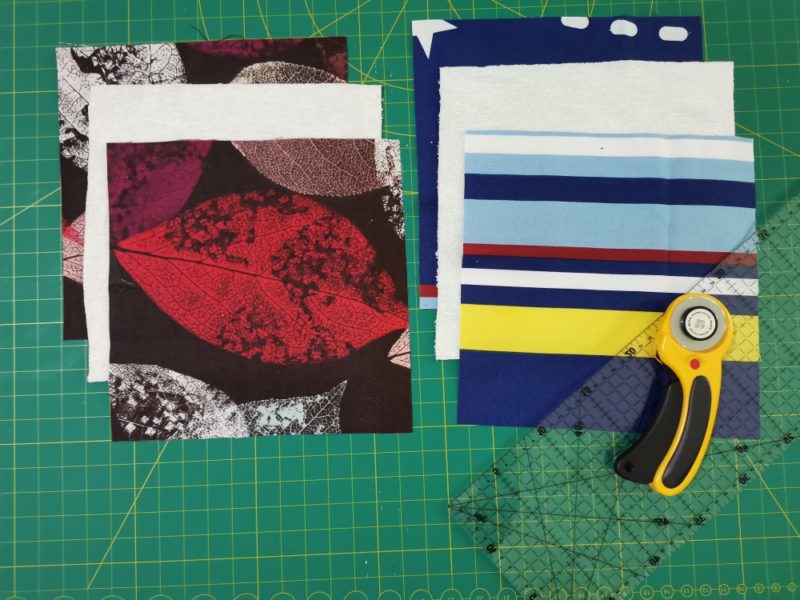
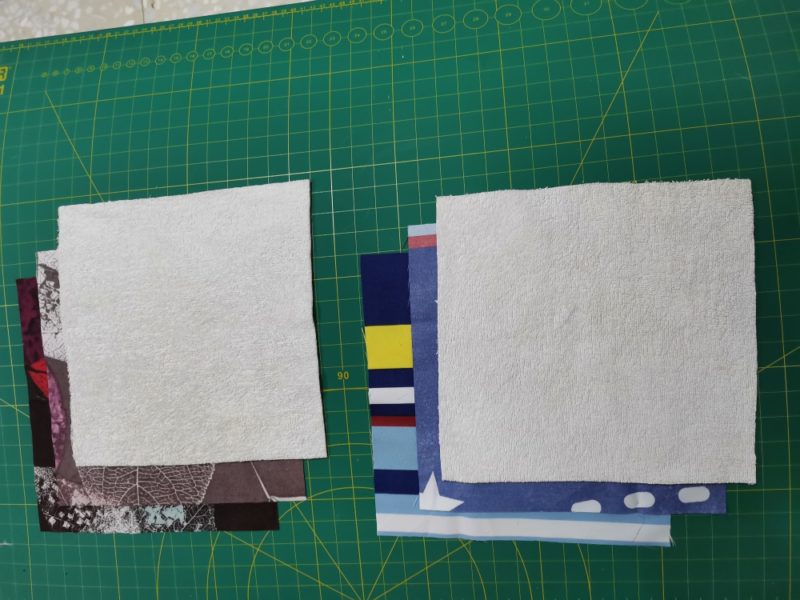
1. Measure and cut two pieces of 10″ square cover fabric.
2. Measure and cut 1 piece of 10″ square insulation material.
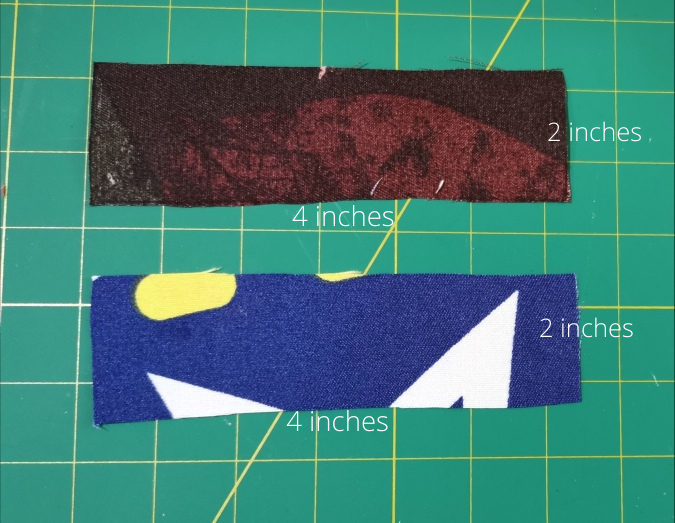
3. For the loop, cut one piece of fabric 2 x 4 inches.
How to create the loop for your DIY potholder
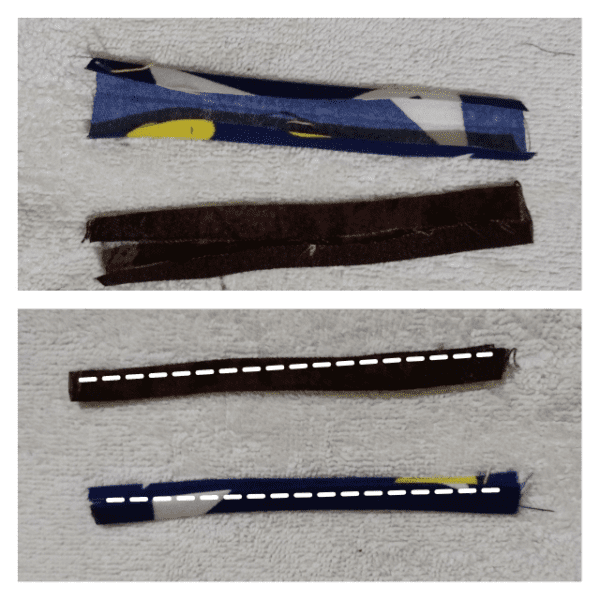
4. Fold and iron both sides of the strip of fabric towards the middle and then fold one more time so that the two right sides are touching each other. Sew along the length with a very narrow seam allowance to close.
Stack all the squares
5. Stack and align 1 piece fabric right side facing up, 1 piece of fabric right side facing down, and your insulation material.
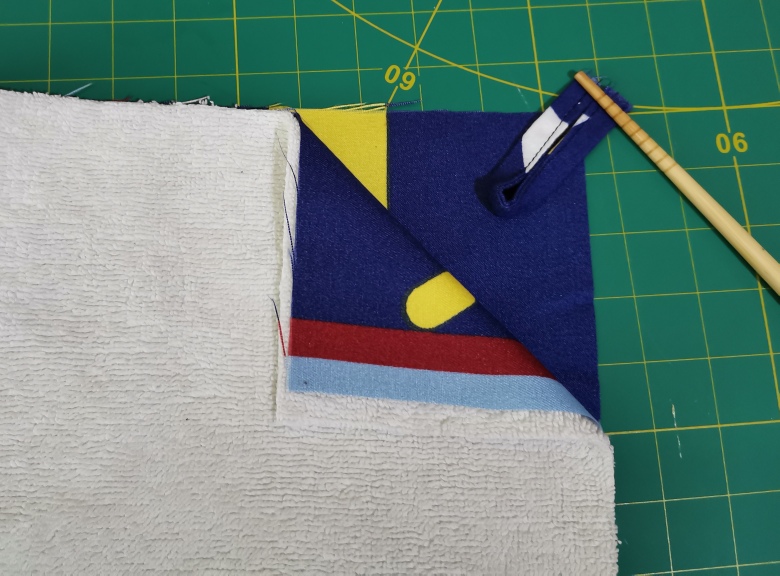
6. Pin all of the layers along the edge and in the middle to keep the insulator in place. In one corner, insert the loop between the 2 fabrics as shown below.
Get sewing
7. Sew around your potholder leaving a 1/2inch allowance and a 4″ gap on one side.
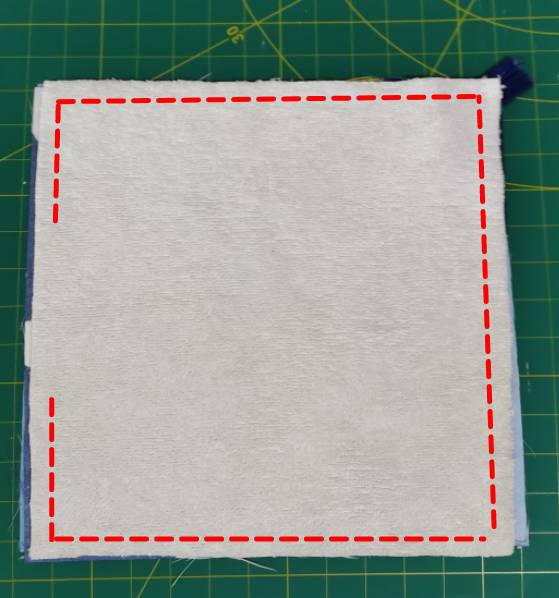
8. Trim the three layers around the edge and corners to reduce the bulk. Important: Trim the insulator where the opening is but DO NOT trim the 2 layers of fabric. This trick will make it easier for you to close the gap in the next step. Remove the pins.
9. Turn the potholder right side out through the 4″ opening. Using a chopstick, or any blunt stick, push the corners.
10. If you are using a towel as an insulator, pin all three layers in the middle to keep it from shifting. Topstitch around the potholder. Stay as close to the edge as possible to securely close the 4″ gap. (TIP: The best way to close the gap is using a ladder stitch.)
11. Finally, sew a few lines in the middle to hold the layers together. A simple X would do too.
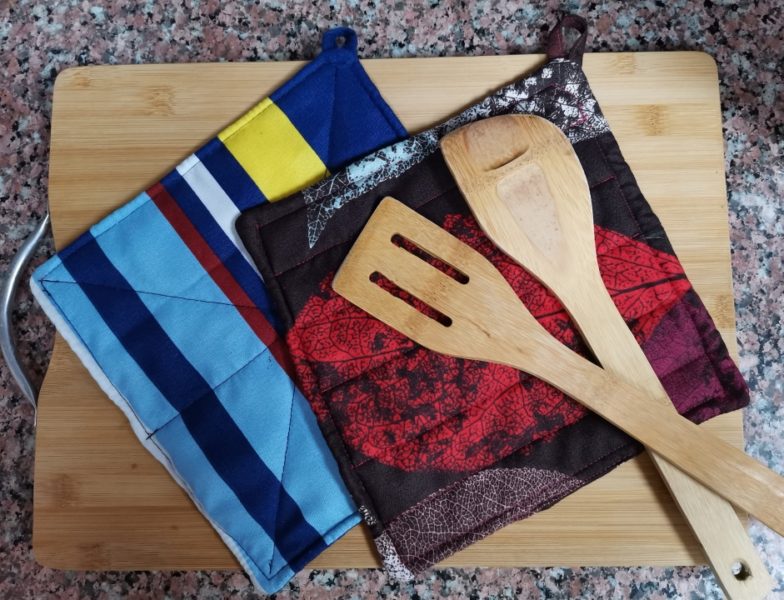
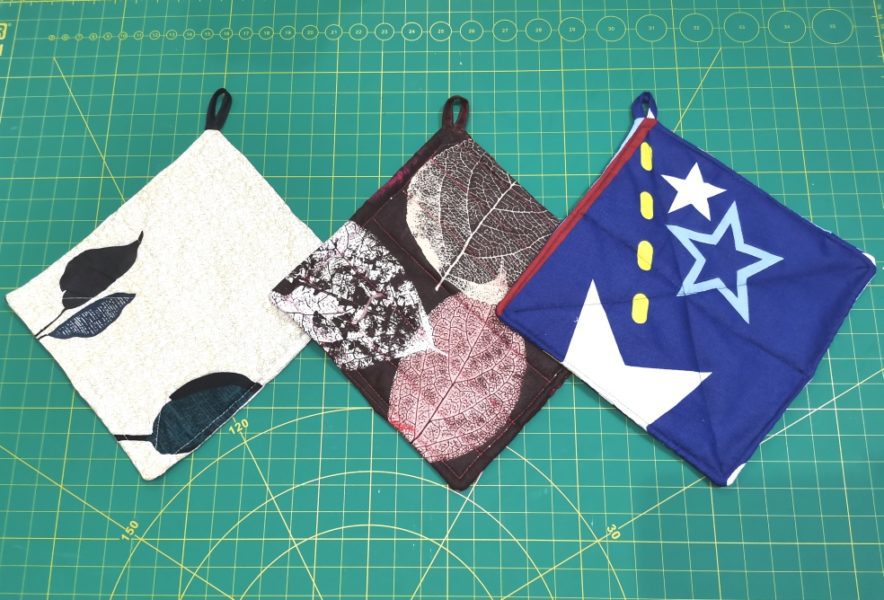
Admire and enjoy your new DIY potholder. By the way, this is a great housewarming gift for homemakers and something that you can easily get embroidered to add a personal touch.
Adorn your kitchen with seasonal-themed fabrics–this is a no-fuss useful sewing project.
If you like sewing for your home check this out too:
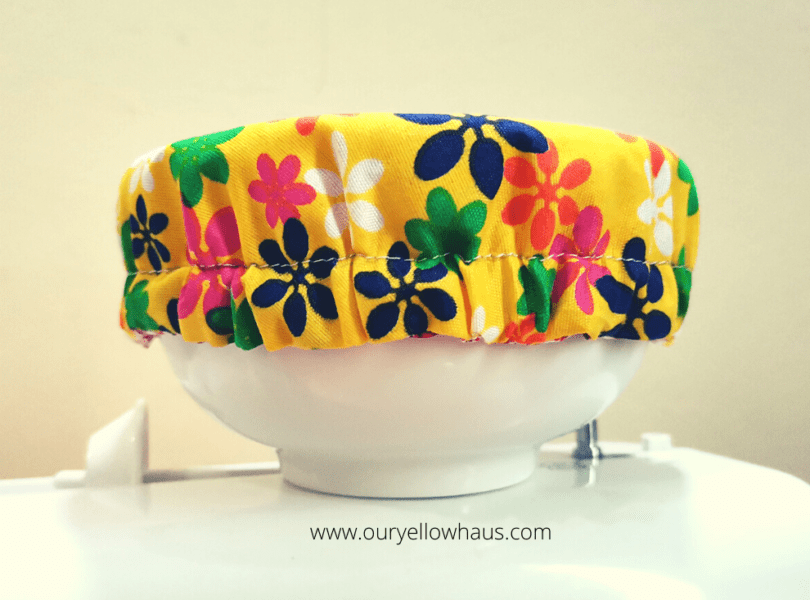
How to make a fabric bowl cover
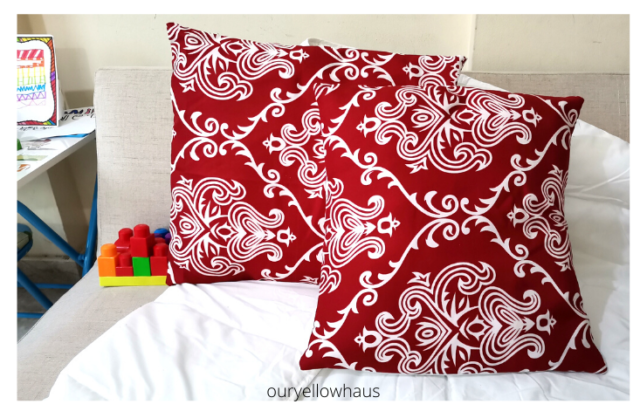
Two ways to make an envelope closure pillowcase
I would love to know that you successfully made this simple project by letting me know in the comments. Please post it on Instagram and tag me @ouryellowhaus. I would love to see it.