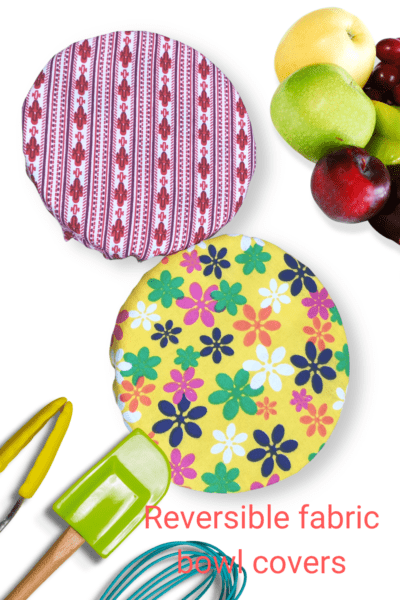
A fabric bowl cover is a piece of fabric with encased elastic. It could be made reversible or one-sided. There are different ways to make this. In this tutorial, I am going to guide you on how to make a reversible fabric bowl cover. Perfect for a sewing beginner.
This simple sewing project is a scrap buster and eco-friendly! Make a few pieces for your home in different sizes. You can use this fabric bowl to cover your dough, or to keep the food safe while outdoors during camping or picnics. Also, it is the perfect solution for bowls with missing covers. The list is endless!
TRY THESE SCRAP BUSTER TUTORIALS TOO!
-Three ways to make a scrunchie
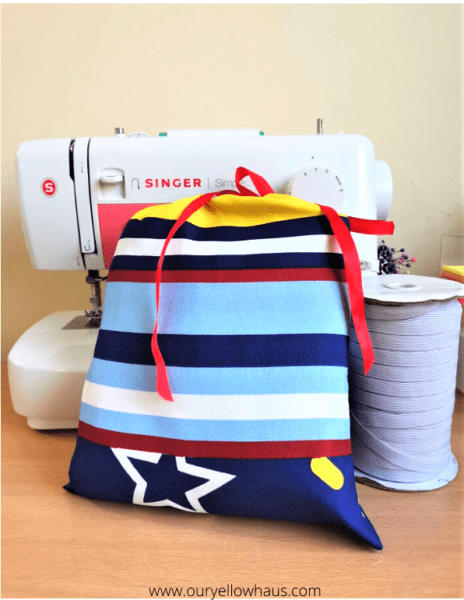
-How to sew a simple drawstring bag
(Yes, it looks like a shower cap. So, go ahead, why not. Try making for yourself too!)

Few reminders before moving forward:
Wash and iron your fabric before use.
If your bowl has a lip, make sure your allowance can cover that as well.
Remember that each bowl cover fits a range of sizes, so take that into account when you plan to make different sizes.
Wash your reversible fabric bowl covers by hand or using the washer.
Do not use a fabric bowl cover when microwaving food.
You will need:
- Fabric (s)
- Matching thread
- Needle for hand sewing
- Elastic
- Safety Pin
Elastic length:
Turn your bowl upside down. Measure the circumference of your bowl using your elastic and subtract 2 inches to make your finished product snugly fit.
Instructions:
TRACE AND CUT
Get your bowl and turn it upside down on your fabric. Trace the edge of your bowl using a fabric marker.
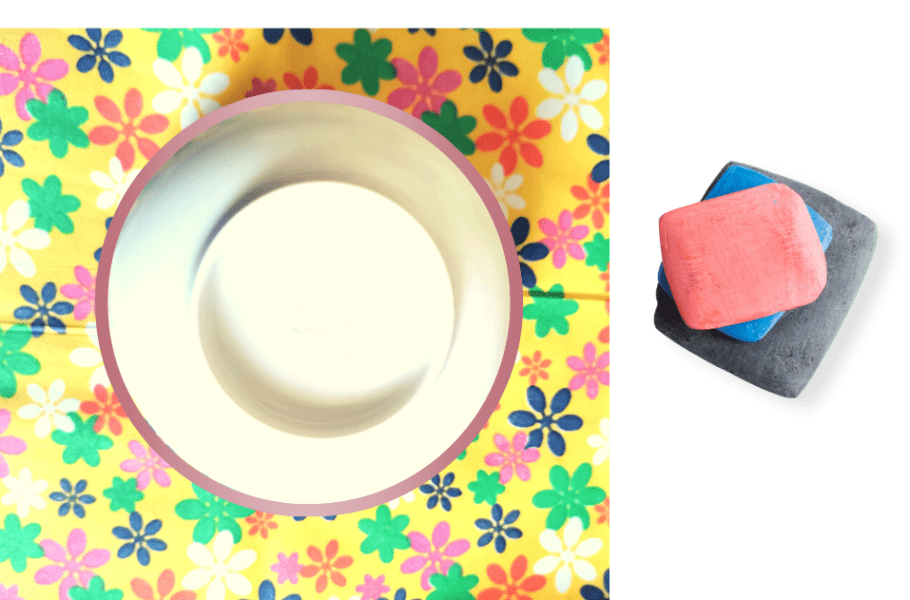

Set your bowl aside. Make a bigger circle around it by adding 2.5 inches on all sides. This gives about an inch drape on the side of your bowl.
Cut along the bigger circle. This is now your pattern. Place your pattern on the other fabric and cut the same size. Remember we are trying to make a reversible bowl cover. Here, I have 2 of the floral and 2 red-printed fabrics.


SEW THE OUTER SEAM
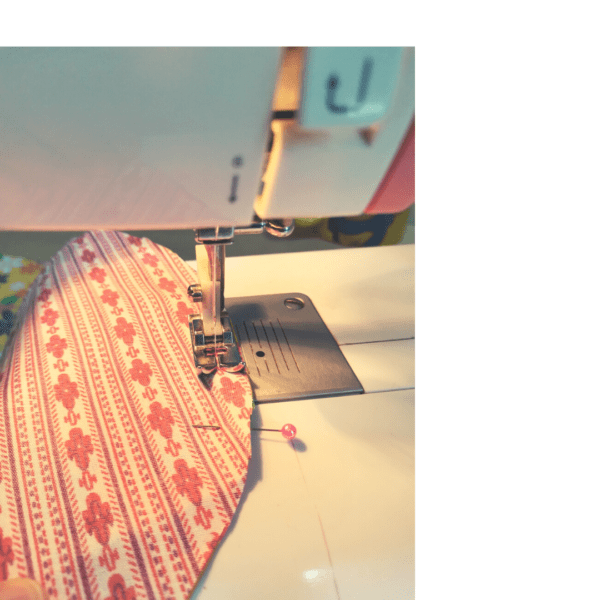
Place your 2 round fabrics right sides together, pin, and sew around the edges leaving 1/2 inch seam allowance. Leave a 2-inch gap between the start and end of your stitch.

TURN AND PRESS
Trim the edges (except the gap) and turn the fabric right side out. Poke the sides to get that perfect (almost) circle. Press the edges. Tuck, fold and press the opening, too.
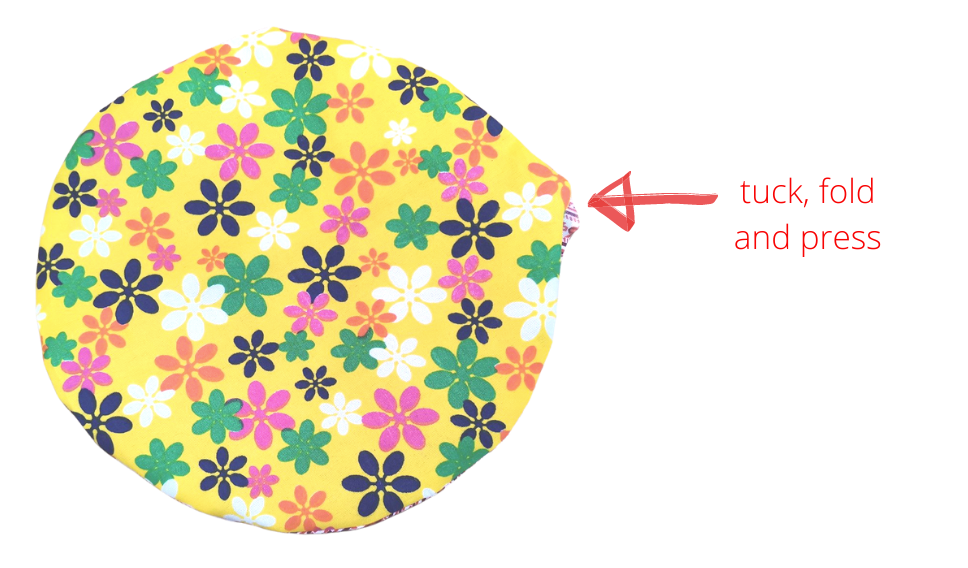

SEW THE INNER SEAM FOR THE ELASTIC
Check the width of your elastic. Trace an inner circle (the inner seam) from the edge, wide enough to encase your elastic. Sew a full circle along the traced inner circle.
INSERT THE ELASTIC
Attach a safety pin at the end of your elastic. Insert the elastic through the channel. Upon reaching the other side, grab both ends of the elastic and sew it together to secure.
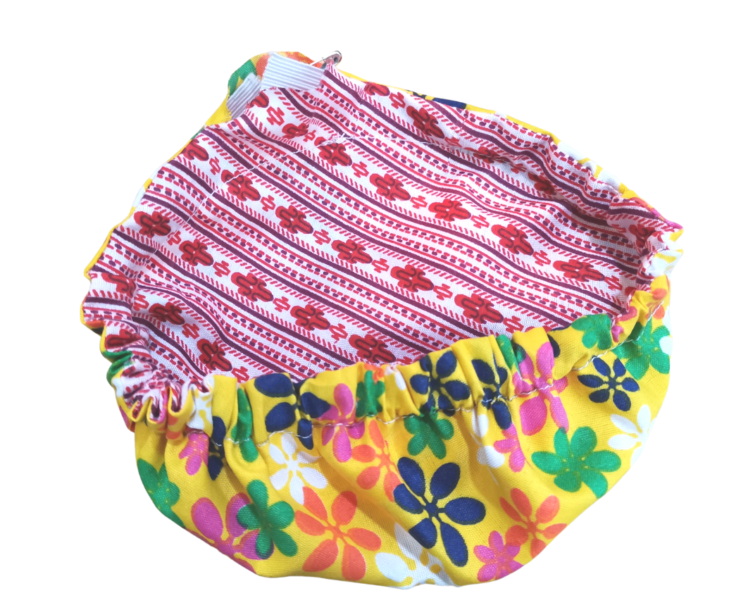


CLOSE THE GAP
Lastly, to finish your reversible fabric bowl cover, hand-sew the opening using a ladder stitch.
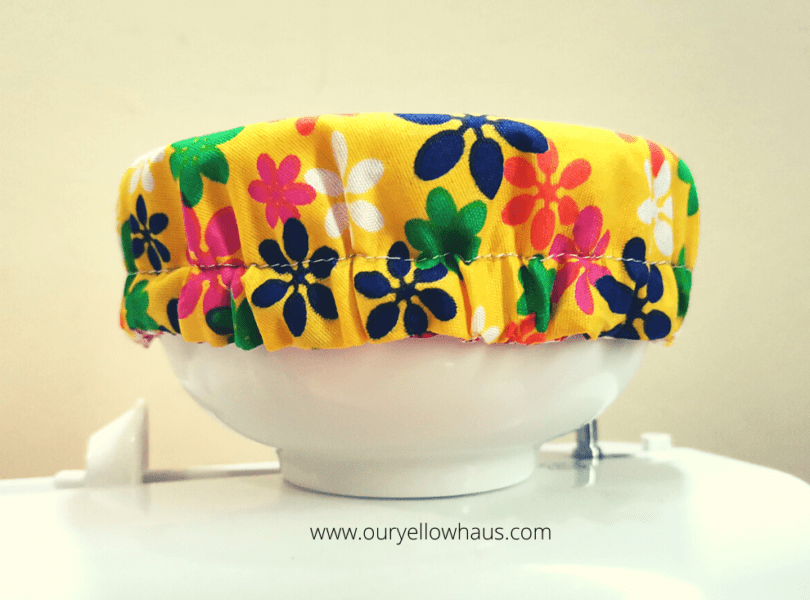

The small ones can keep your glass or soda can covered as well. Can you find more ways to use these reversible fabric covers?
Let me know in the comments section below.


